A Sterling Silver Cabochon Pendant
Its Making From Start to Finish
By Mike Streeter

Like most people, I spent most of my life unaware of all that is required to create a piece of fine jewelry. But after teaching myself the arts of lapidary and silversmithing, I became keenly aware of the great amount of time, expense, effort and specialized skills required to create my own sterling silver and copper cabochon pendants. In an effort to educate those who may wonder about and balk at the seemingly high asking price of any given piece of jewelry, what follows is a demonstration of the enormous amount of steps required to create a one-of-a-kind sterling silver cabochon pendant from a self-collected rock.

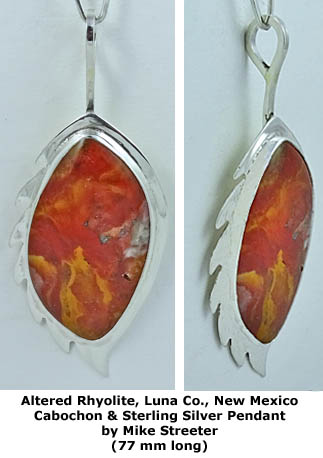
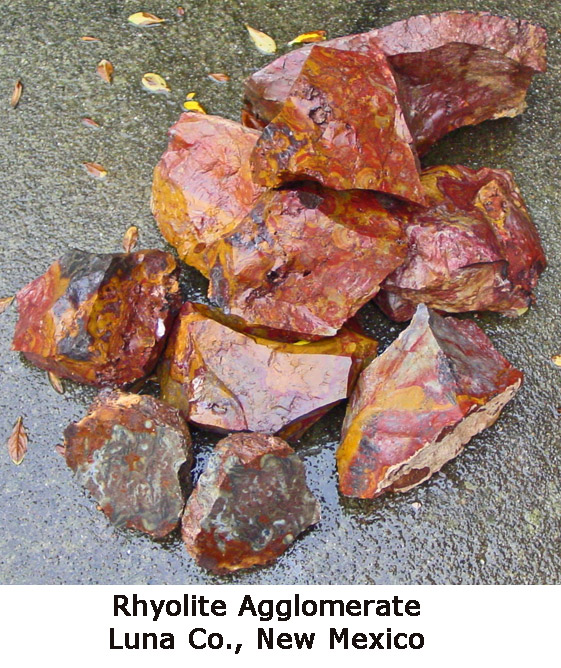
As an example especially for this report, I created the following pendant from a rock Chrissy and I collected on a 2011 rockhounding trip to New Mexico.


The pendant looks simple enough - just slap a couple pieces of rock and silver together and whammo, you've got a pendant, right? Well, not so much and as you'll see, its creation involved dozens of steps, starting with finding and then collecting the rock from which its cabochon was derived.

Step 1 - Preparation & Travel

Those who have rockhounded know that any trip starts with figuring out where to go to have the best chance at finding what you're looking for - duh. As a geologist, long-time rockhound, I assumed the researcher/travel guide role for our family. I was made aware by a friend of a location outside Deming, New Mexico where colorful altered rhyolite could be collected. From verbal directions that I applied to maps, I charted a course to the location and Chrissy and I made plans to visit it and others on our next rockhounding trip to New Mexico.

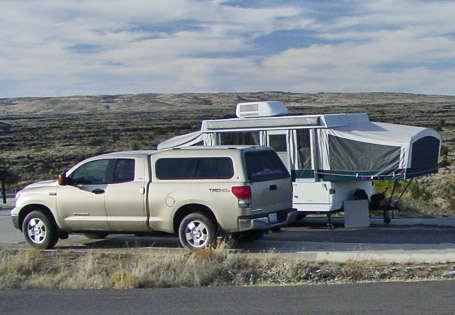
Any of our rockhounding trips involves putting together and loading all the clothes, tools, food and other assorted items we may need or want. We employ a pretty big pickup truck and folding travel trailer to haul our stuff and have a home away from home while on the road.

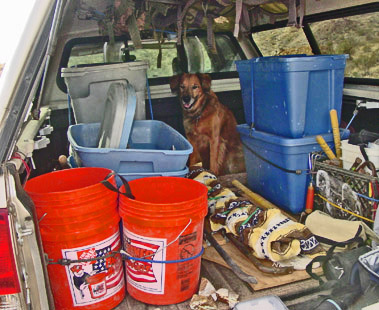
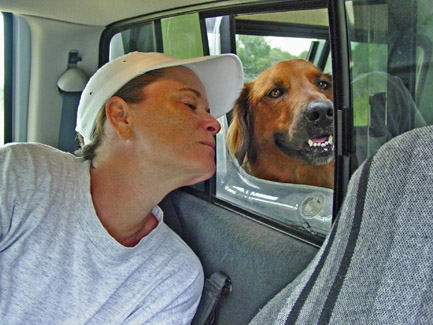
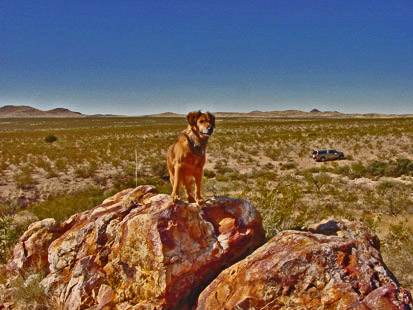
As always, we reserved enough padded space in the back of the truck so Opal could remain comfortable throughout our long journey. For those of you who may feel sorry for our seemingly poor pooch having to be stuck all alone in the back of the truck, not to worry; we made sure that each of the two trucks we owned during her lifetime was fitted with a sliding glass window so she could visit and keep an eye on us whenever she so desired and wasn't stretched out on her bed sleeping.

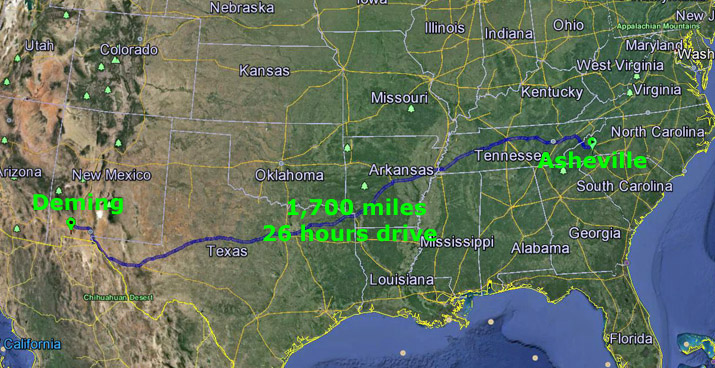
It's a LONG haul from where we live just outside Asheville, North Carolina to Deming, New Mexico! We stopped to collect at a couple locations roughly along the way, so it took us several days to get to a commercial campground in Deming where we had made a reservation - it would later take us two monster days on the road to get back home.

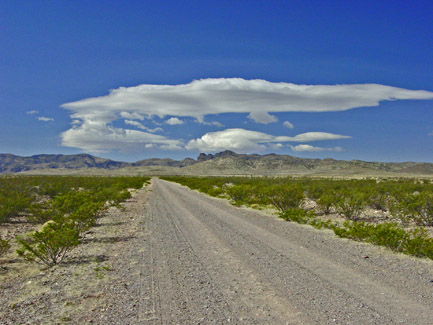
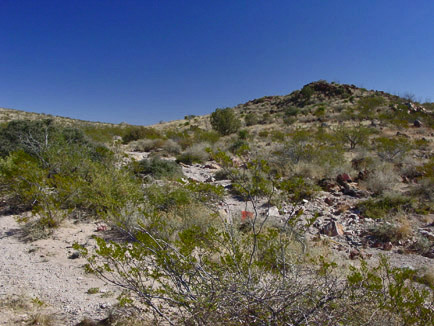
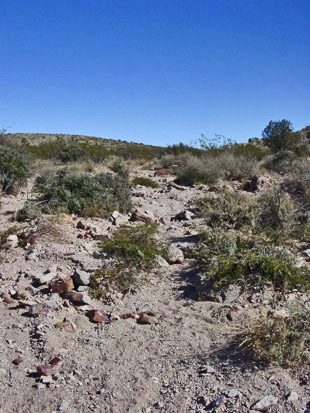
The trip to the altered rhyolite collecting location involved driving into the desert on dusty gravel roads well off paved ones.

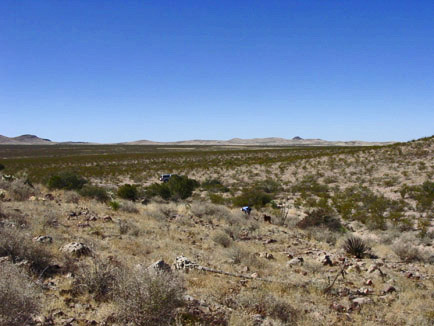
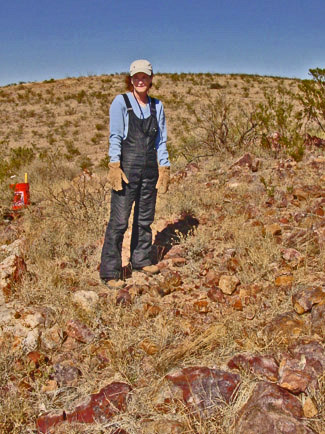
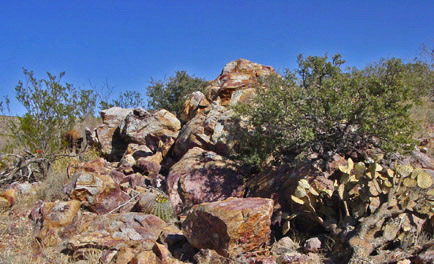
Having never been to this particular location before and with what turned out to be sketchy directions, we took and made corrections for a few wrong turns along the way. With the help of a couple real-time cell phone calls to our friend who had provided the directions, we managed to find the right spot or at least one that seemed to match the description. Adjacent to a sandy wash with small to large scattered rocks were altered rhyolite bedrock outcroppings surrounded by very large angular boulders.

Step 2 - Rockhounding

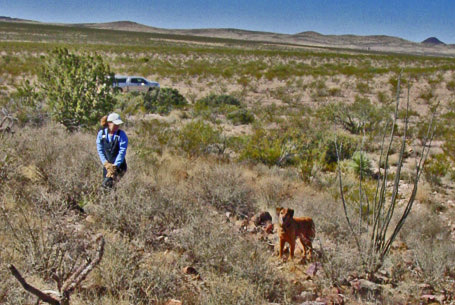
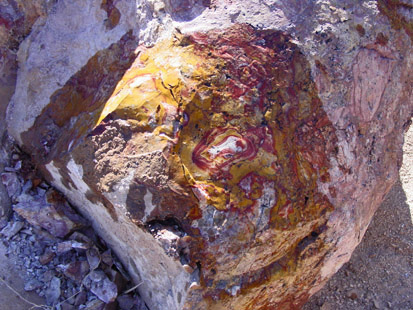
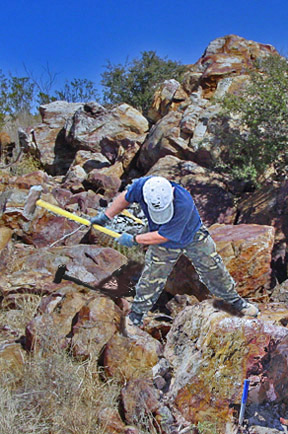
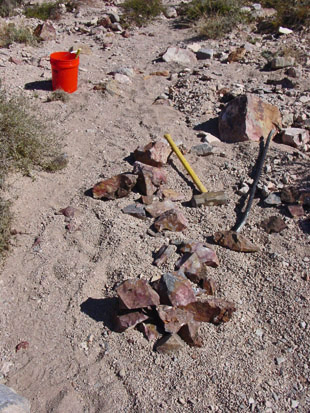
While there were plenty of loose rocks from which to choose, some of the more colorful ones were huge so that some heavy banging with my big sledge was required to dislodge a satisfactory pile of keepers that we hauled back to the truck in 5-gallon buckets.

Due to an abundance of beautiful rocks suitable for lapidary, we only spent about four hours at this location before making our way back to Deming where we planned to regroup before heading to the next location on our to do list.

At home, I began the lapidary process by picking out and slabbing one of the altered rhyolite rocks on our diamond rock saw as shown on the following page.

Click here to go to the next page . . .