A Basic Pendant Wirewrapping Lesson
By Junesse Farley
By Junesse Farley
Part II
16. Take the outermost wire on the back of your frame (opposite side from twisted wire) and bend it out at a right angle. Measure out enough wire that you could bend it over and just cover the wraps, then trim off excess. Do this for both of them.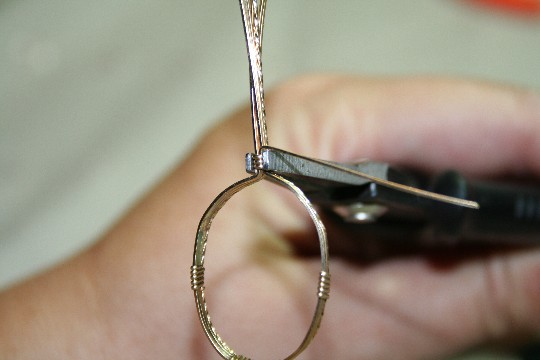 17. Bend down your trimmed-off wires so that they cover the ends of your wrapped wire, locking them in. Snug down w/flat nosed pliers.
 18. Using your flat-nosed pliers, grab the last wire on the back between the wraps and bend it inward. Do this evenly between each set of wraps. This will support the flat back of your cab.
 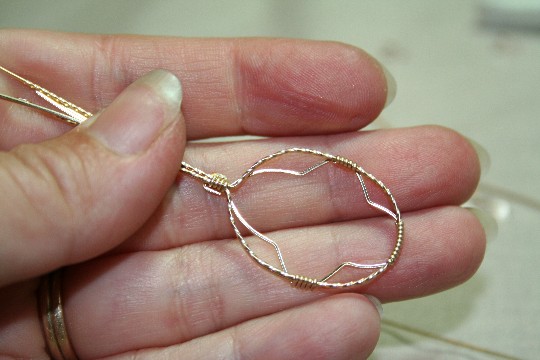 19. Set the stone inside your frame. While holding the stone in the frame, take your paring knife and gently pull up the top wire, enough so that you can get the edge of your flat-nosed pliers under it. Do this for each section between wraps.
 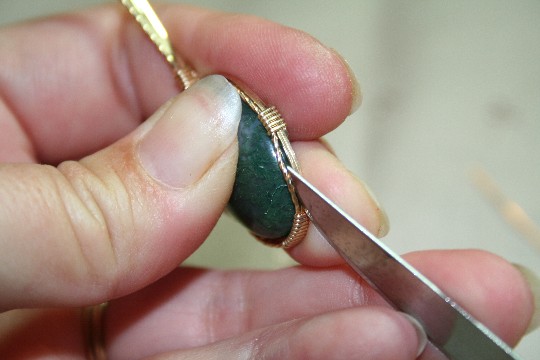 20. Pull up top (twisted) wire over the front of your stone, so that it is secure. Make sure you do this evenly. Be careful not to scratch your stone if you are using a soft stone.
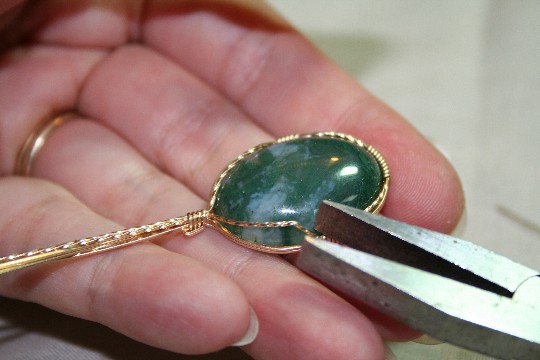 21. You can use a set of pliers to pull both wires inward across the top of your stone for a better fit if you want to. I like to use chain nose pliers for this. Make sure your stone is secure.
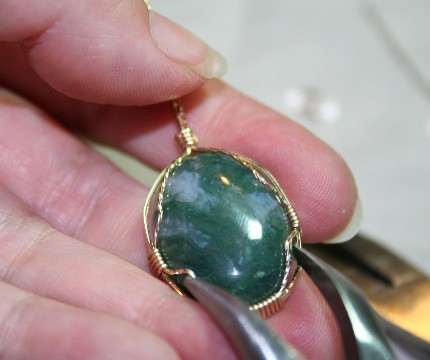 22. Take the next set of wires on the back of your frame and bend them outward to either side.
 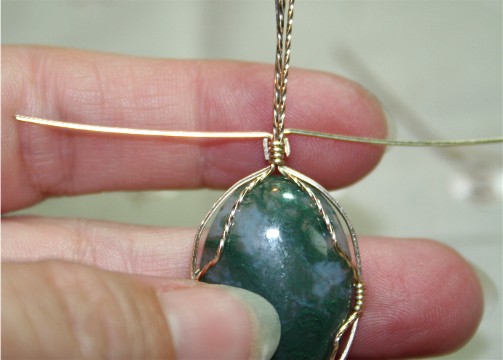 23. Slide the remaining set of untwisted wires out to either side of the front twisted wire and restack. They will be 90 degrees to your original stack. This will form your bail. Tape if necessary.
 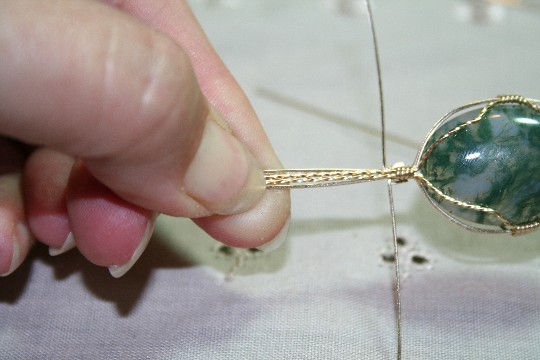 24. Measure up about half an inch or so, then make a hook in what’s left of your half round wire and again wrap it around the stack. Make sure the hook faces the back of your stone and the end of your wire is in the middle of your stacked wires. Make several wraps around, just as you did forming the oval part of the frame. Trim off, and end your wire in the middle on the same side as you started. You should have about one-half to three quarters of an inch of wires sticking out past the end of the wraps. Remove tape, if necessary.
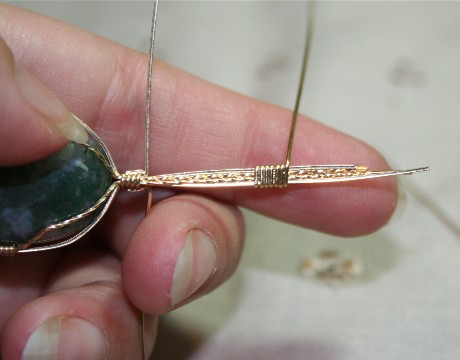 25. Bend your stack of wires towards the back of your stone, using your round nosed pliers. Make a u-shaped bend. This is where your cord or chain will go through your bail. You almost have a complete pendant!
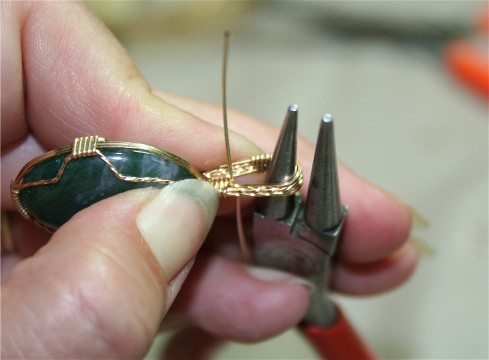 26. Turn your pendant over so the back faces you. Take the wires in your bail and divide them, pulling them out to either side in a “Y” shape that ends just below your two wires that you pulled out to the sides earlier, but didn’t include in the bail.
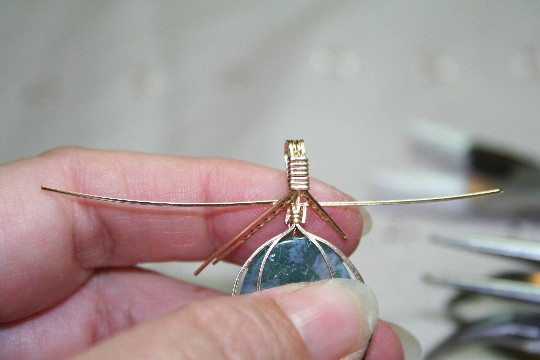 27. Take the innermost (untwisted) wire on one side of the “Y”, and wrap it around the wire sticking out on that side. Wrap it completely around and snug down w/your flat-nosed pliers. Trim off the wire from the “Y” against the other wire, as needed. Do this on both sides.
 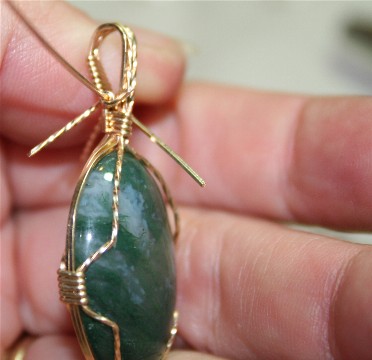 28. Now you have four wires left, two twisted and two untwisted. Measure the untwisted wires against each other and even the ends up. You don’t want much more that an inch of wire remaining.
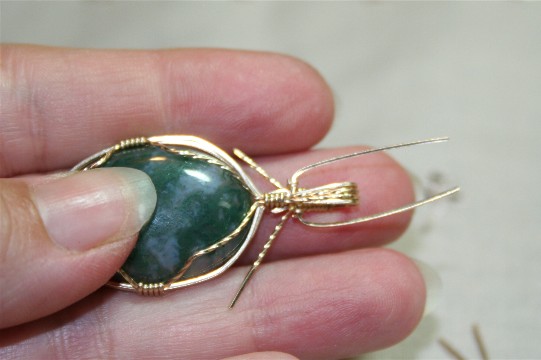 29. Twist these wires and taking your round nose pliers, make a loop as small as you possibly can in the end of these wires. You can crunch it smaller with your flat-nosed pliers if you need to, but try and keep the round shape.
 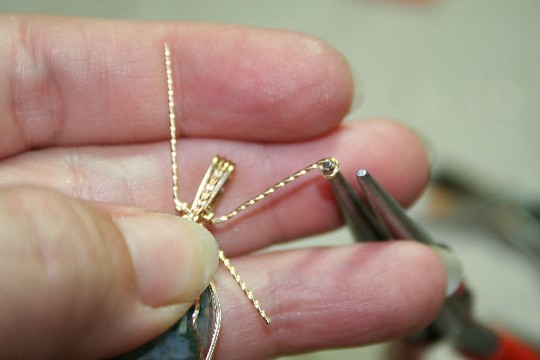 30. Coil the wire inward upon itself around the loop. Some people use their round-nosed pliers for this, but I like using my flat-nosed pliers. Repeat for all remaining wires.
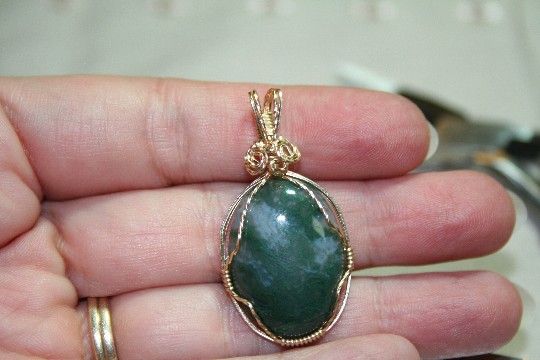
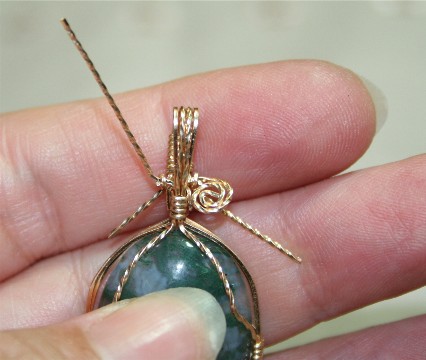 31. Arrange the coils attractively at the base of your bail. If you like, take your paring knife and slide it in-between the twisted wires in the bail. Separate the wires slightly. Your pendant is now complete!